
Playwright Docker means running your Playwright E2E test suite inside a Playwright Docker container built from Microsoft's official image, which ships with Chromium, Firefox, and WebKit plus all their system dependencies pre-installed. The result: tests that pass locally pass in CI, full stop. No "missing library" errors, no browser binary mismatches, no per-machine headache. This guide covers a basic Dockerfile, a production-optimized multi-stage build, a docker-compose setup for local dev orchestration, GitHub Actions and GitLab CI configs, and a VNC-based debugging approach for when tests fail inside a container and you need to see what is happening. All configs are in the companion repo.
You've seen the error. Something like error while loading shared libraries: libgbm.so.1: cannot open shared object file. Or the WebKit variant. Or the Firefox one. You search the error, find a GitHub issue from 2021, add the suggested apt-get line, push again, and get a different missing library. Repeat for 40 minutes until the pipeline is green. Two sprints later, the CI runner image updates and you do it again.
This is the dependency treadmill, and it's the default experience for teams running Playwright in CI without a proper container strategy. The browsers Playwright uses are not simple binaries. They carry deep system-level dependencies that vary by OS version, by distribution, and by the specific Playwright release you're on. If you are new to containerized test environments, Docker Compose Testing for Startups covers the broader philosophy of why containers beat shared staging for integration tests.
The exit is a Playwright Docker image that owns the full dependency tree. Build it once, pin it, and the treadmill stops. This guide shows you how to build that image, optimize it for production, wire it into GitHub Actions and GitLab CI, and debug tests when they fail inside a container.
Why Playwright's Browser Dependencies Make Docker Non-Optional
Playwright controls three browser engines: Chromium, Firefox, and WebKit. Each one links against a different set of native system libraries. Chromium needs roughly 20 shared libraries including libgbm, libasound2, and libxss1. WebKit needs another set. Firefox has its own requirements. On a developer machine that has had a browser installed for years, all of these are already present and nobody notices. On a fresh Linux container they are missing, and Playwright fails before it loads a single page.
The naive fix is to run npx playwright install-deps at the top of every CI job. This works, but it adds 90-180 seconds to every pipeline run, and those seconds compound. A team running 20 CI jobs per day burns roughly 25 engineer-hours of idle wait time per month just on browser dependency installation — and that is before you count the runs that fail midway and have to be retried.
Microsoft ships an official Docker image, mcr.microsoft.com/playwright, that solves this completely. The image is built with every system library pre-installed, alongside the browser binaries themselves. Pull the image, copy your test files, run your tests. No installation, no library hunting, no CI surprises.
One important caveat: Alpine Linux is not supported. The Playwright browser binaries depend on glibc, and Alpine uses musl. If your organization standardizes on Alpine-based images for size optimization, you will need to use the -noble (Ubuntu 24.04) or -jammy (Ubuntu 22.04) image tags instead. There is no workaround that the Playwright team officially supports.
This is why a Playwright Docker container is not just a nice-to-have for larger teams. It is the correct default for any team running Playwright in a CI environment. The comparison between Playwright and Selenium is heavily influenced by this infrastructure story: Playwright's official Docker image is one reason Playwright CI pipelines are significantly faster to set up and maintain.
The Basic Dockerfile
The starting point is simpler than most engineers expect. Pull the official image, copy your project, install npm dependencies (the browser binaries are already in the image), and run your tests. Here is the complete basic Dockerfile:
A few things worth noting. The FROM mcr.microsoft.com/playwright:v1.59.1-noble line pins a specific version. Never use latest in a test image. Playwright versions change browser binaries, and a silent update to latest that changes Chromium's rendering behavior can turn a passing test suite into a flaky one overnight. Pin the version, update intentionally.
The working directory is /app by convention. You copy package.json and package-lock.json before copying the rest of the project, which lets Docker cache the npm install layer. If your test files change but your dependencies do not, Docker skips the install step entirely. For a project with hundreds of packages, this shaves minutes off rebuild times.
Docker Runtime Flags That Prevent Silent Crashes
When you run this image, three flags matter. First, --ipc=host (or ipc: host in docker-compose): Chromium uses shared memory for inter-process communication, and Docker limits /dev/shm to 64MB by default. Without this flag, Chromium crashes silently on pages with heavy rendering. The alternative is --shm-size=2g if you cannot use host IPC. Second, --init (or init: true in compose): this prevents zombie processes from Chromium subprocesses that the default PID 1 does not reap. Third, if you are running as root (which you should not in production), --cap-add=SYS_ADMIN enables the Chromium sandbox. Running as a non-root user with --ipc=host is the cleaner path.
The Production Dockerfile
The basic Dockerfile works. The production Dockerfile is the one you should actually ship. The core difference is a multi-stage build that separates dependency installation from test execution, runs tests as a non-root user, and produces a smaller final image by not dragging build artifacts forward. Here is the production version:
The two-stage structure matters for a specific reason: the first stage installs everything including dev tools and build caches. The second stage copies only node_modules and your project files, leaving the build mess behind. Final image size is typically 40-60% smaller than a single-stage build with the same contents.
Running as a non-root user (pwuser is the user pre-created in the official Playwright image) is a security requirement for any production CI environment. Some container runtimes in CI reject root containers entirely. Building the habit into your Dockerfile from the start avoids a painful retrofit later.
Pair this with a .dockerignore file that excludes node_modules, .git, test-results, and any local .env files. Without it, your build context grows unbounded and the COPY . . step slows down on every change.
Docker Compose for Local Playwright Development
A Dockerfile runs your tests. Docker Compose orchestrates the full environment: your test runner, the application under test, a database, a mock service. When they all share a network and start in the right order with health checks, your local environment and your CI environment are identical. Here is the compose file:
The health check on the webapp service is important. Without it, the playwright service can start before the app is ready to accept connections, and your tests fail with connection refused errors rather than actual test failures. These are among the most common flaky test sources in CI for containerized setups.
Volume mounts serve two purposes here. The ./playwright.config.ts and ./tests mounts let you edit test files locally and see results without rebuilding the image. The test-results and playwright-report mounts bring artifacts back to your host machine so you can open the HTML report in a browser after the run.
The shared network is straightforward: playwright talks to webapp using the service name as the hostname. Inside the playwright container, your baseURL is http://webapp:3000, not localhost. This is a common gotcha when first moving from a direct install to Docker Compose. For a deeper look at the broader patterns at play, Docker Compose Testing for Startups is the companion read.
Running Playwright Docker in GitHub Actions
GitHub Actions is where most teams first hit the "Playwright Docker or native runner" decision. The native runner approach (npx playwright install --with-deps) works, but it installs browsers on every run. The Docker approach caches the image between runs. For repos with active CI, the Docker approach wins on total pipeline time once the image is cached. Here is the complete workflow:
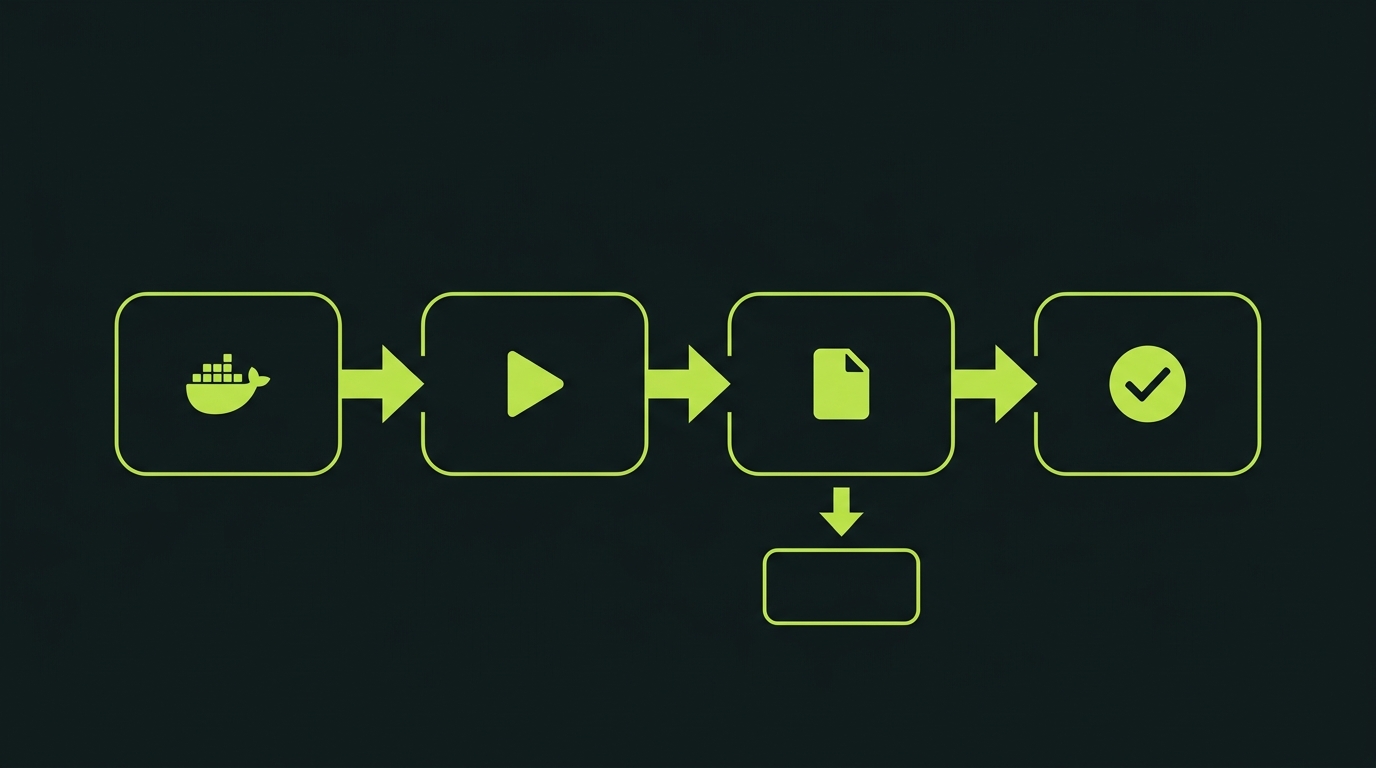
The trace artifact upload on failure is critical. Playwright traces are binary files that the Playwright Trace Viewer can open to show a step-by-step replay of every action, every network request, and every DOM snapshot at the moment of failure. Without uploading them in CI, a test that fails only in GitHub Actions and passes locally is nearly undebuggable. With the trace, you can open it in 30 seconds and see exactly what happened.
The workflow uses docker build and docker run directly rather than a docker-compose step. For CI, this is the right call: compose introduces a daemon process and extra networking overhead that adds no value when you only need to run one container.
For teams who need to connect Playwright Docker with GitHub Actions to preview environments, the pattern extends cleanly. You pass the preview URL as a BASE_URL environment variable into the container, and the Playwright config reads it.
We built Autonoma specifically because maintaining CI workflows like this one is where teams lose time they should be spending on product. The GitHub Actions file above is not complicated, but it is one more file to maintain, one more place a dep update can break your pipeline, and one more thing to re-learn when you onboard a new engineer.
Playwright CI Docker Setup for GitLab
GitLab CI's runner model fits Playwright Docker naturally. The official Playwright image can be used directly as the job image, which means the browsers and system dependencies are present before your job script even begins. Here is a complete config:
The key structural difference from GitHub Actions is that GitLab CI runs each job inside the specified image, so you do not need a separate build step. The playwright image is the runtime. Your job script just installs npm deps and runs the tests. No docker build command inside the job.
Artifact collection follows GitLab's artifacts keyword. Storing the playwright-report/ directory with a one-week expiry gives your team time to investigate failures without filling up artifact storage. Mark them as when: always so reports are collected even on failed jobs, otherwise you lose the only evidence of what went wrong.
Debugging Playwright Tests in Docker Containers
This is the part of the Playwright Docker guide that nobody writes until someone spends an afternoon debugging a test that fails only in Docker. The problem is that Docker containers run headless by default. There is no display, no browser window, no way to watch what Playwright is doing. When a test fails for a visual reason (an element that renders differently in the container's Chromium versus your local Chrome), you need a way to see the browser.
VNC Live Debugging
VNC is the standard approach. You start the container with a virtual display via Xvfb, run Playwright in headed mode, and expose VNC on port 5900. From your host machine, you connect with any VNC viewer and watch the test run live. The script below automates this setup:
Trace-Based Debugging
For non-visual debugging, the Playwright trace is your primary tool. When a test fails, run it with --trace on (or set trace: 'on' in your config), then copy the trace file out of the container using docker cp. Open it with npx playwright show-trace trace.zip and you get a full step-by-step replay with screenshots, network requests, and console output at each action.
If you are dealing with flakiness that appears only in containers, the usual culprits are timing assumptions that hold on a fast developer machine but break under container resource limits, font rendering differences between the host OS and the Ubuntu container, and viewport size mismatches when no explicit viewport is set in the Playwright config. All three are solvable. The trace viewer will show you exactly which one you are dealing with. For a broader treatment of this category of problem, why E2E tests pass but the product is broken covers the failure modes in more depth.
When Docker Is the Wrong Answer
Playwright Docker solves the environment consistency problem. It is the right default for CI. But there are two situations where the overhead is not worth it.
If your team runs tests locally as the primary development loop and CI is just a gate, the image build time and compose startup add friction to a workflow that should be fast. Local development with a native Playwright install is faster. Use Docker for CI, native install for the inner development loop.
If you are running Playwright as part of a broader test infrastructure that includes API tests, unit tests, and integration tests, coordinating all of it through Docker adds orchestration complexity that compounds with team size. This is where E2E testing tools that abstract the infrastructure layer start to make economic sense.
The teams we see at Autonoma who spend the most engineering time on their Playwright Docker setup are not the ones who built it wrong. They built it correctly. But every Dockerfile, every compose config, every GitHub Actions YAML, and every GitLab CI config is infrastructure that someone owns. When Playwright releases a new version and the image tag changes, someone updates the Dockerfiles. When a new engineer joins, someone explains the VNC debug setup. When the compose file starts timing out under load, someone digs through the health check logic. That ownership cost never goes away.
For teams who want E2E coverage without carrying that infrastructure, we built Autonoma to run Playwright tests in managed cloud containers. You connect your codebase, agents generate tests from your code, and execution happens in our infrastructure. Autonoma is open source and free to self-host; a managed Cloud tier is also available. No Dockerfiles to maintain, no CI workflows to update, no browser dependency matrix to track.
Fixing Flaky Playwright Tests in Docker
Container-specific flakiness is real and distinct from regular test flakiness. The usual pattern: a test passes 90% of the time and fails 10% of the time, but only in Docker. The test passes every time locally. This is almost always one of three things.
First, resource contention. Containers share host CPU and memory. If your CI runner is also running 5 other jobs, Playwright's auto-waiting works against a slower DOM. Increase the global test timeout and add explicit waits for network-idle states on pages with heavy data loading. Second, font rendering. Playwright's visual comparison features (toHaveScreenshot) are pixel-sensitive. The Ubuntu fonts in the Playwright image render text at subtly different sizes than macOS. If you are using screenshot assertions, generate your baseline snapshots inside the same Docker image you use in CI. Third, the Xvfb display server. When running headed in a container without proper DISPLAY configuration, some browser operations silently fail. The VNC script above handles this correctly; if you are rolling your own headed setup, confirm the DISPLAY variable is set before Playwright launches.
Summary: Your Playwright Docker Container Checklist
Running Playwright in a Docker container comes down to three building blocks: the right base image, a multi-stage Dockerfile that optimizes for layer caching and image size, and a compose or CI config that wires the test container to the application under test. Get those three right and environment consistency stops being a problem you solve repeatedly. It becomes infrastructure you set up once.
The companion repo has all six configs ready to copy into your project. Pin your Playwright image version, add a .dockerignore, run as a non-root user, upload traces on failure. Those four habits handle 90% of the friction teams encounter when containerizing their E2E suite.
If the remaining 10% (maintaining the Dockerfiles, updating image tags, debugging container-specific flakiness) sounds like work you would rather spend on product instead, that is exactly what Autonoma handles for you. Connect your codebase, get E2E coverage, skip the infrastructure.
Use the official Microsoft Playwright image: mcr.microsoft.com/playwright with a pinned version tag, for example mcr.microsoft.com/playwright:v1.59.1-noble. The image ships with all three browsers (Chromium, Firefox, WebKit) plus every system library they depend on. Never use 'latest' -- Playwright versions change browser binaries and a silent update can introduce flakiness that is hard to trace back to the image change. Pin to the same version your package.json specifies and update both together intentionally.
Two approaches depending on the type of failure. For visual debugging, use VNC: start the container with a virtual display via Xvfb, expose port 5900, run Playwright in headed mode, and connect from your host with any VNC viewer. The companion repo includes a shell script that sets this up in one command. For non-visual debugging, use Playwright's trace feature: run with --trace on, then copy the trace file out of the container with docker cp and open it with npx playwright show-trace. The trace shows every action, network request, and DOM snapshot at each step.
Yes, and this is the standard setup. Playwright's browsers all support headless mode, which requires no display server. If you are using the official image, do NOT override PLAYWRIGHT_BROWSERS_PATH — the image ships with browsers pre-installed at /ms-playwright, and Playwright automatically uses them. Setting PLAYWRIGHT_BROWSERS_PATH=0 forces a per-project re-download on every run, which defeats the purpose of the pre-built image. For GitHub Actions, build the image and run docker run with your test command directly. For GitLab CI, set the image to the official Playwright image and install npm deps in your script. You only need a display (Xvfb) if you specifically want to run in headed mode for debugging.
Three common causes. First, not using layer caching: copy package.json and package-lock.json before copying the rest of your project so Docker caches the npm install step. If your source files change but dependencies do not, Docker skips the install entirely. Second, missing .dockerignore: without it, your entire project directory (including node_modules, .git, and test-results) is sent as build context on every build. Add a .dockerignore that excludes node_modules, .git, test-results, and .env files. Third, not caching the base image in CI: GitHub Actions and GitLab CI both support Docker layer caching. Enable it so the Playwright base image is not re-pulled on every pipeline run.
For teams who want managed infrastructure: yes. Autonoma runs Playwright tests in managed cloud containers, so there are no Dockerfiles to maintain, no CI workflows to configure for browser dependencies, and no image version tracking. Connect your codebase and agents handle test generation, execution, and maintenance. For teams who need custom container configurations, specific network topologies, or full control over the execution environment, your own Playwright Docker setup is the right answer. Autonoma is not designed for teams with hard requirements around container customization -- it is designed for teams who want E2E coverage without the infrastructure overhead.


